Friday, December 5, 2014

Thanksgiving

What a joy it was to be back in my own kitchen! To have counter space and a double oven and a gas stove and Le Creuset to cook with and my trusty Silpat to bake on! It was a foodie's dream to be home in kitchen I know and love. (Seeing my family was nice, too, I suppose.)

To me, Thanksgiving is about family and the love that we share. Nothing represents that like food for us. It is such an important aspect in my family's life. I think I speak for all of us when I say that eating  and enjoying good food is a priority. We eat to live, so why not live to eat?

There was the turkey, of course, cooked to a golden perfection:


There was a slight mishap with the turkey, however. It was quite heavier than turkeys we've had in the past, as this one was a whopping twenty pounds. When my father brought it out of the oven, the aluminum pan bent under the weight. Cooking juices went everywhere and we almost lost the turkey. Thankfully, though, both father and turkey survived, and we still had enough cooking juice to make the gravy. Our golden retriever, Jeeves, helped clean up the mess:


I made the rolls, as I do every year. I used this recipe for potato rolls. (I also have the cookbook these came from, and it is fabulous!) The potatoes and the water the potatoes were cooked in make the rolls perfectly light and chewy and the perfect way to sop up extra gravy. With the extra dough, I made a challah-like braided loaf.


All of the food was delicious, from the turkey to the mashed potatoes (completely homemade, of course) to the pumpkin pie at the end. It was hard going back to my two-butt kitchen, but at least there's only one more week until Christmas break.


Tomayto, tomahto

Hors d'oeuvres are one of the more under-appreciated food groups. They aren't as substantial or necessary as entrees and they aren't as flashy as desserts.

But they can be delicious. Think tomato bruschetta (pronounced broo-SKET-ta, NOT bru-shet-ta) or prosciutto-wrapped cantaloupe or even the simple beauty of cheese and crackers.

For something a little more showy, I love stuffed tomatoes. Quick, always a crowd pleaser, and tasty. These look gourmet and foodie, but are super easy to make.

Ingredients:
Small tomatoes, about 2 inches in diameter (you could use cherry tomatoes, but those might be too small)
4 tablespoons of cream cheese, slightly softened
2 tablespoons of grated Parmesan cheese + more for garnish
2 teaspoons of an herb of your choice (I used a premixed blend of oregano, basil, thyme, tarragon, and lavender from Sprouts)


1. Preheat the oven to 350 degrees. 

2. Mix the cream cheese, Parmesan, and herbs in a bowl. Set aside.


3. Wash and dry the tomatoes. Use a serrated paring knife and cute the tops off of the tomatoes. Cut carefully around the inside and remove the inner part and seeds. Don't discard the tops.


4. Put a small amount of the cream cheese mixture into each of the tomatoes.


5. Sprinkle each tomato with a small amount of grated Parmesan. Replace the tops on each of the tomatoes. Place into a baking dish.


6. Bake for 6-7 minutes, or until the cream cheese and tomatoes have warmed and softened.

7. Serve and enjoy!


Bonjour!

Though oatmeal is the best healthy way to start the day, nothing can beat French toast when it comes to sweet breakfast foods. I would argue that they're even better than pancakes and waffles, when done right.

The best French bread is made with challah, a traditional Jewish braided bread.


But normal bread is a good substitute, especially whole wheat, which has a better and richer flavor than white bread.

French toast is an easy breakfast that takes little time to prepare but starts your morning off on a delicious note.

Ingredients: (1-2 servings)
2 pieces of bread, halved widthwise
2 eggs
1/2 cup milk
1 1/2 teaspoon cinnamon
1 tablespoon butter

Maple syrup

1. Over medium-low heat, melt a tablespoon of butter. While the butter is melting, combine eggs, milk, and cinnamon in a small bowl.


2. Dip the bread into the egg mixture and let soak for a few seconds on each side. Place in the pan. Repeat for each piece of bread.


3. Let each piece cook for a couple minutes until golden brown on the underside. Flip and cook on the other side.


4. If there is an excess of the egg mixture of the piece of bread, you may notice that the egg mixture starts to cook and resemble an omelette or scrambled eggs. You can remove this with a spatula.

5. Once each piece has cooked, serve, top with maple syrup, and enjoy.

(Powdered sugar is also good, but maple syrup is more traditional.)


Image credit: 1

3 ways to cook better cheaper

When you're in college, your food budget may not allow for much more than Ramen noodles and mac and cheese. I understand that, but I also firmly believe in good tasting food. Here are some ways to get the most bang for your buck so you don't have to suffer instant noodles another night longer:

1. Check for grocery stores that allow you to scoop your own spices and other bulk items.

I know Sprouts and Whole Foods do this, and while much of the other food there is on the expensive side, self service scoops can help you control the amount you get and how much you pay for it. For expensive items like spices, odds are you aren't going to need an entire jar, which can run pretty costly. If you can find a place to scoop your own spices into small bags, you can get as much as you'll need for a given recipe and probably only pay a very little amount.

2. Buy local.

Farmers markets and stores that bring in produce locally are often a lot cheaper. Though big box stores like Walmart like to brag about their low prices, I have compared prices and talked with customers about produce prices, and stores with local produce are often cheaper; even if they aren't, the price difference is very small and you are getting much better quality of food. Because local food doesn't need to travel as far, the price of gas to transport is much less, which is reflected in the price. And if you buy local, you're also supporting your local community.

3. Buy cheaper options of the basic products.

The best olive oil comes from Italy, but you can buy cheap American-made olive oil that's still pretty good, will do what you need it too, and is a lot cheaper. Same goes with pasta, rice, flour, sugar, etc. For basic foodstuffs, you won't notice the difference by buying cheaper options.

The world needs more chocolate

In light of recent news about a potential worldwide chocolate shortage, I have decided that to make the most of the plentitude of chocolate available to me now. What better way to do so than through cookies, one of God and nature's perfect foods?


These were everything I could ever want in a cookie: not too chewy, not to hard, not too moist, not too dry, and deliciously, perfectly chocolaty. 

I mixed elements from this recipe for Lofthouse-style cookies and from this recipe for chocolate sugar cookies, which I have made before with great success.

Apart from being yummy, these cookies are also the easiest and fastest cookies I have made in a while.

Ingredients:
3/4 cups of softened unsalted butter (1 1/2 sticks)
3/4 cups granulated sugar
1 egg
1 egg yolk (Best separating methods: a special egg yolk separator thingy or carefully cracking the egg and using your fingers, letting the whites run through your fingers while holding the yolk)
2 teaspoons vanilla extract
1/2 teaspoon salt
2 1/4 teaspoon baking powder
2 cups flour
3/4 cups cocoa powder

More granulated sugar and cocoa powder for rolling

1. Cream the butter and sugar together until smooth. Add in the egg, egg yolk, and vanilla. Mix well.

2. Add the dry ingredients. Mix well until all ingredients are fully incorporated. The dough should be slightly sticky but firm.

3. Refrigerate for an hour.

4. Preheat the oven to 350 degrees.

5. In a small bowl, combine equal parts granulated sugar and cocoa powder (you won't need more than a few tablespoons of each). Make small balls (about 1 - 1 1/2 inches in diameter) and roll in the cocoa-sugar mixture.

6. Put cookies on a cookie sheet with an inch or two between each one to allow for the cookies to expand while baking.

7. Bake for 9 minutes or until they look dry. With darker dough, it can be hard to tell when they are done. If in doubt, poke one of the center cookies with a toothpick; if it comes out clean, the cookies are done.

8. Allow to cool on the pan for five minutes. Remove and put on a wire cooling rack to cool completely.

9. Enjoy!


(Note: Rolling the cookies is optional. It gives them a slightly crunchy exterior with the granulated sugar, but the coating does get darker, which can look like they have burned.)

A Delicious Experiment

Cooking can get monotonous. I have found myself cooking the same thing over and over again until it stops tasting like anything. One can only eat so many turkey burgers, sautéed zucchini, and bulgur wheat before you only taste the memory of the last time you ate it.

I had to spice things up a little, pun completely intended. I didn't have a lot on hand, but what I did have was: apples, maple syrup, butter, ground cumin, and curry powder.


I was fully expecting this to be a horrible mess, a monstrosity of a dish, a meal gone very wrong.

It was delicious.

I melted butter to sauté the apples in, as butter would go with the sweetness of the apples better than olive oil would. Once the apples started to get soft, I added in about a teaspoon each of cumin and curry powder and stirred to ensure that all of the apples were completely coated in it. Once the apples were completely soft, I added in a couple of tablespoons of maple syrup (organic! no corn syrup!). I cooked that until the apples had absorbed the syrup and caramelized.


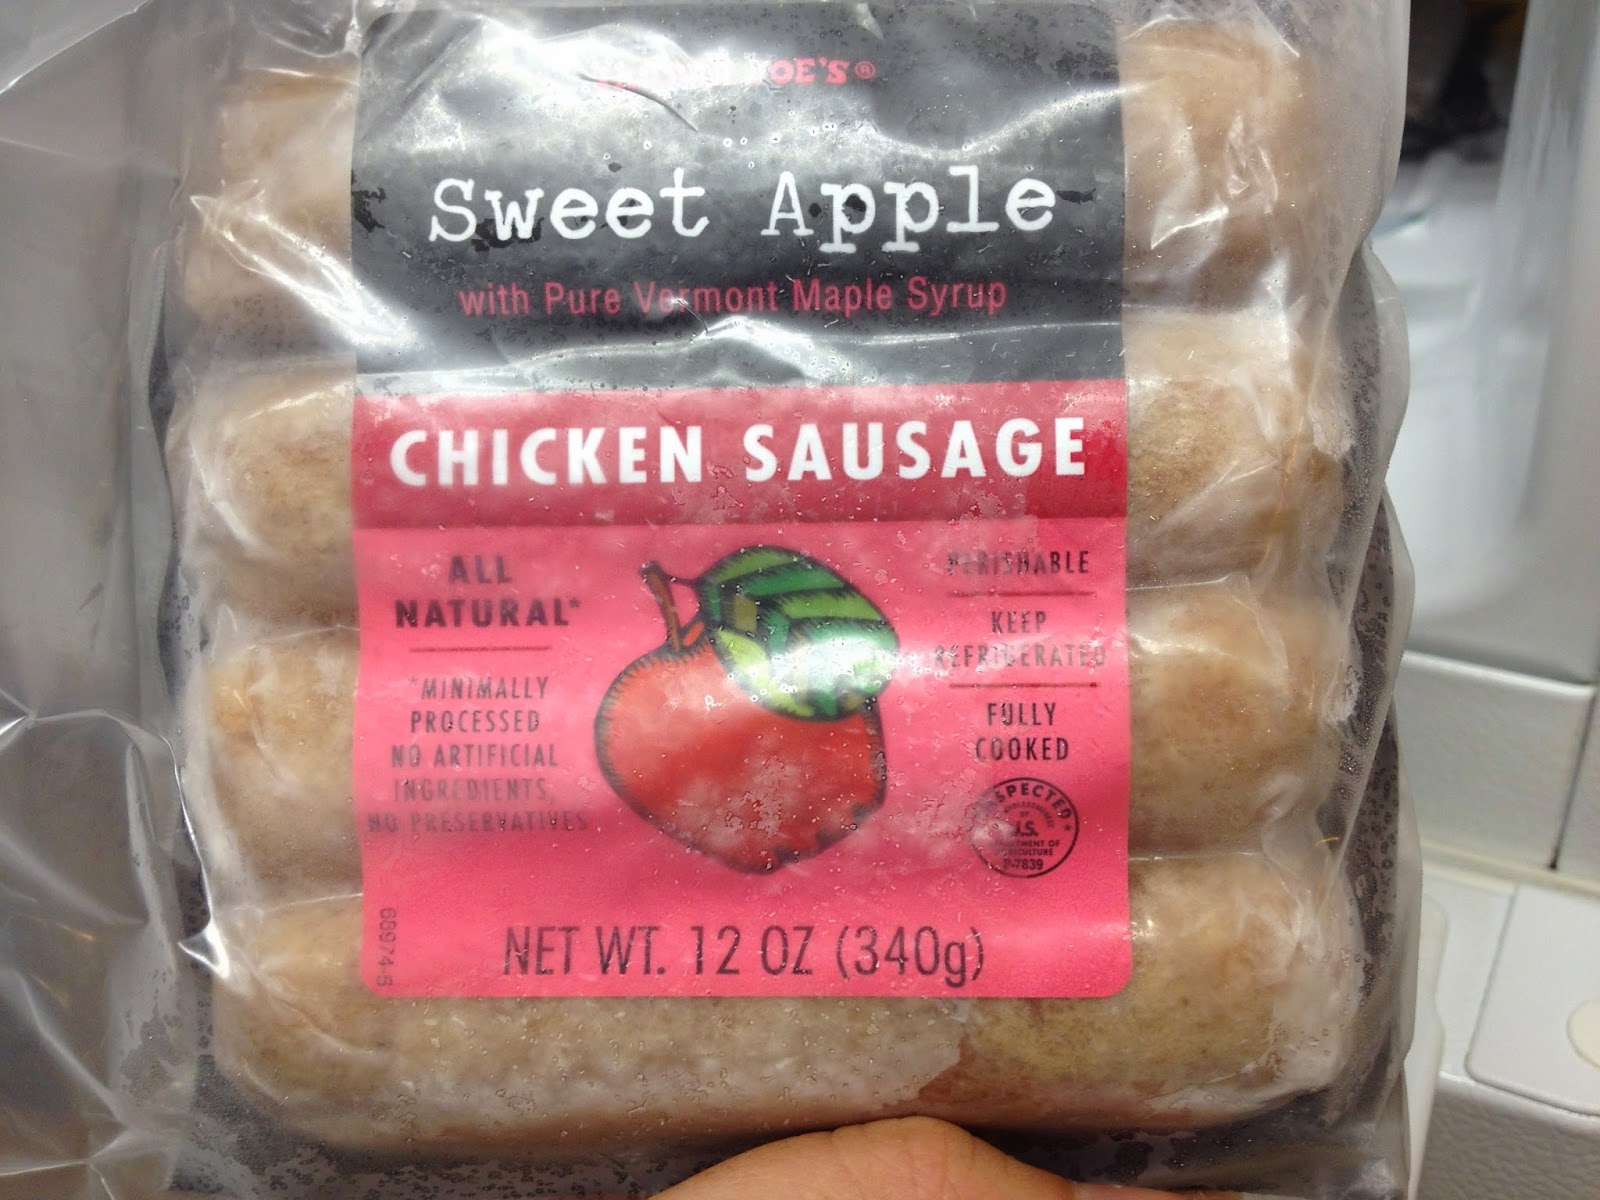
I served the apples on top of a bed of leftover couscous and alongside an apple chicken sausage from Trader Joe's (which deserves to be named one of the seven wonders of the world).


At first, the apples were very sweet from the combination of the natural sweetness of a Gala apple and the maple syrup. But then there was an aromatic spiciness in the back of my throat and on my tongue from the spices. This spiciness nicely tempered what would have otherwise been an overwhelming sweetness.


I fully believe that this experiment could have ended very poorly. I'm glad it turned out yummy and the 26 people who liked and commented on the picture I shared on Facebook seemed to agree.

Wednesday, December 3, 2014

Alive, awake, alert, enthusiastic!

Oatmeal is one of the more under-appreciated breakfast foods. Sure, pancakes are great and bacon is sublime. But what about the unsung, fiber and protein rich hero of the breakfast table? It's healthy and you feel full and ready for the day after eating it.

It is perfect for colder mornings when you want something nice and hot in your stomach. When I woke up one morning few weeks ago, oatmeal was the only thing I wanted to eat.

The only problem was that I had no oats. I did have bulgur wheat, though, and after a little searching online, I found this Martha Stewart recipe for bulgur wheat porridge that I adapted.

I  added a dash of organic maple syrup, some brown sugar, and a diced apple to make a yummy porridge that certainly satisfied my oatmeal cravings.


Ingredients: (makes 1 serving)
1/2 cup milk
1/2 cup water
1/4 bulgur wheat
Pinch of salt
1 tablespoon organic maple syrup (un-organic would work too, but why eat artificial ingredients when you don't have to?)
1 tablespoon brown sugar
1/2 of an apple, diced

1. Combine the milk, water, bulgur wheat, salt, and apple in a medium saucepan over medium heat.


2. Bring to a boil. Reduce heat and let mixture simmer for about 20 minutes, stirring frequently, until the bulgur wheat and apple have softened and porridge is desired consistency.

3. Add in maple syrup and brown sugar.

4. Serve and enjoy!


Some additional notes:

1. You could also use cinnamon and nutmeg instead of the maple syrup, which also is very good. Add in 1/2 teaspoon of each in step 3 instead of the maple syrup.

2. If you don't stir frequently, the milk can form a thin filmy skin on top. If this happens, it should go away when you stir again. If not, you can use a whisk to break it apart and reincorporate the milk into the porridge.

3. Martha Stewart recommends putting raisins and strawberries in her recipe. As I don't like them, I tried cranberries one time I made this, and it was super tasty. Add in a handful of dried cranberries in step 1. Because cranberries are tart, you may find that the porridge is also more tart. Adding a little more of either brown sugar or maple syrup can help temper the sourness.

Friday, October 31, 2014

Candy and Corn

Happy Halloween!

Halloween without trick-or-treating feels weird. No pillowcases filled with teeth-rotting candy. No pumpkins on doorsteps. No wandering around dark neighborhoods with other laughing, screaming kids.

The Halloweens of my childhood hold a special place in my heart, and I would like to go back and experience that joy and excitement again.

If time machines existed, though, I could never fully recreate those nights, because a crucial element would be missing: I couldn't eat the candy.

I am allergic to corn. It is an allergy with many repercussions and many inherent difficulties, but the most obvious one on Halloween is not being able to eat the candy.

No Snickers (corn syrup, lactose, artificial flavor). No Twix (glucose syrup, vegetable fat, natural flavor). No Kit Kats (lactose, PGPR, artificial flavor). No candy corn (corn syrup, confectioner's glaze, dextrose, gelatin, artificial flavor).

Candy corn is not the only corn to be found on the block


There are dozens, if not hundreds, of ingredients that are derived from corn, which includes the obvious candidates (high fructose corn syrup, cornstarch, corn itself) and less-obvious ones (dextrose, citric acid, MSG). A resource I've turned to multiple times, on cornallergens.com, is an extensive, though not comprehensive, list of possible "corny" ingredients.

I don't exaggerate at all when I say that corn is in absolutely everything. (This is a great graphic that demonstrates this point.)

Every other day of the year is a constant battle between myself and corn, reading labels and making gambles. But Halloween is the worst. I don't have to guess that there's nothing for me to eat; I know for a fact there won't be, unless I shell out for specialty candies. (Thank you, Sprouts and Trader Joe's!)

So, happy trick-or-treating, and eat a Snickers for me! I miss them.


Picture credits: 1, 2, 3

Monday, October 27, 2014

Chocolate Galore!

We're a bit obsessed with chocolate here in apartment F. On any given day, you can find cocoa powder, chocolate chips, chocolate candy, hot chocolate powder, chocolate cookies and granola bars, chocolate-covered cranberries, and Nutella in our pantry.

Apartment F is a wonderful place to live.

Last night, our kitchen looked like an explosion of chocolate. My roommate was making chocolate-covered espresso beans and I was experimenting with a chocolate-peanut-butter-cake-in-a-mug.

Caffeine and sugar and chocolate are wonderful things.

This picture of my lovely roommate accurately sums up the night.
I followed this recipe for my cake. I recently discovered Chocolate-Covered Katie, and it is a great blog with so many wonderful recipes. (I'm planning to make her Secret Peanut Butter Cookies soon. Watch for that post!)

All the ingredients combined. No eggs, so you could just stop here and eat the dough!
A little hard to see, but this is the finished, microwaved cake.
The recipe calls for peanut butter flour, which I don't have. I followed the advice of one of the commenters and substituted 3 tablespoons of normal flour for peanut butter flour and 2 tablespoons of crunchy peanut butter for the oil.

Yummy!
The overall taste of the cake was good, but the texture was a little dry and tough. If I make this again, I'm planning to add in chocolate chips and increase the peanut butter a little bit to make it moister. I'll also probably microwave it for 45 seconds instead of a full minute. And probably use smooth instead of crunchy peanut butter.

My roommate had better luck. She melted about half a bag chocolate chips in a Pyrex glass bowl in the microwave. She then took the espresso beans, dipped them in the chocolate, and rolled them in cocoa powder.


Ingredients for altered chocolate peanut butter cake:
1 tablespoon plus 2 teaspoons cocoa powder
3 tablespoons flour
2 tablespoons peanut butter (I would suggest possibly adding 1-2 teaspoons more of peanut butter)
1/16 teaspoon salt
1 tablespoon plue 1 teaspoon sugar
1/4 teaspoon baking powder
3 tablespoons milk
1/4 teaspoon vanilla extract

Combine wet ingredients and dry ingredients in separate bowls. Add dry ingredients into wet. Combine well. Transfer to a microwave-safe container. (I used a coffee mug.) Microwave for 45-60 seconds.

Friday, October 24, 2014

Zucchini Spaghetti

I'm a big fan of zucchini in all forms: baked, sautéed, grilled, in soups and sauces, you name it. It's safe to say that it's probably my favorite vegetable. And when I saw a recipe combining my favorite vegetable and my favorite food group (zucchini spaghetti), I had to jump on that bandwagon.

While I did not end up making this recipe (though it is on my to-make list), I thought the blogger's tip to use a cheese grater to make the "noodles" was genius.

Gif from topwithcinnamon.com
I found this method to be super easy and quick. I also don't have a mandoline in my tiny apartment kitchen, so I didn't really have much of a choice. (I should ask my parents for one. I'm pretty sure they have three.)

I used vegetables I already had for this recipe, and you can add in almost anything you have on hand (onions, broccoli, squash, asparagus, etc.) and it will be delicious.


Ingredients:
1 zucchini
1 clove of garlic
1 tablespoon olive oil
1/2 of a red pepper
1/2 cup frozen peas
Handful of cherry tomatoes
Handful of spinach
Grated parmesan cheese
Salt and pepper to taste

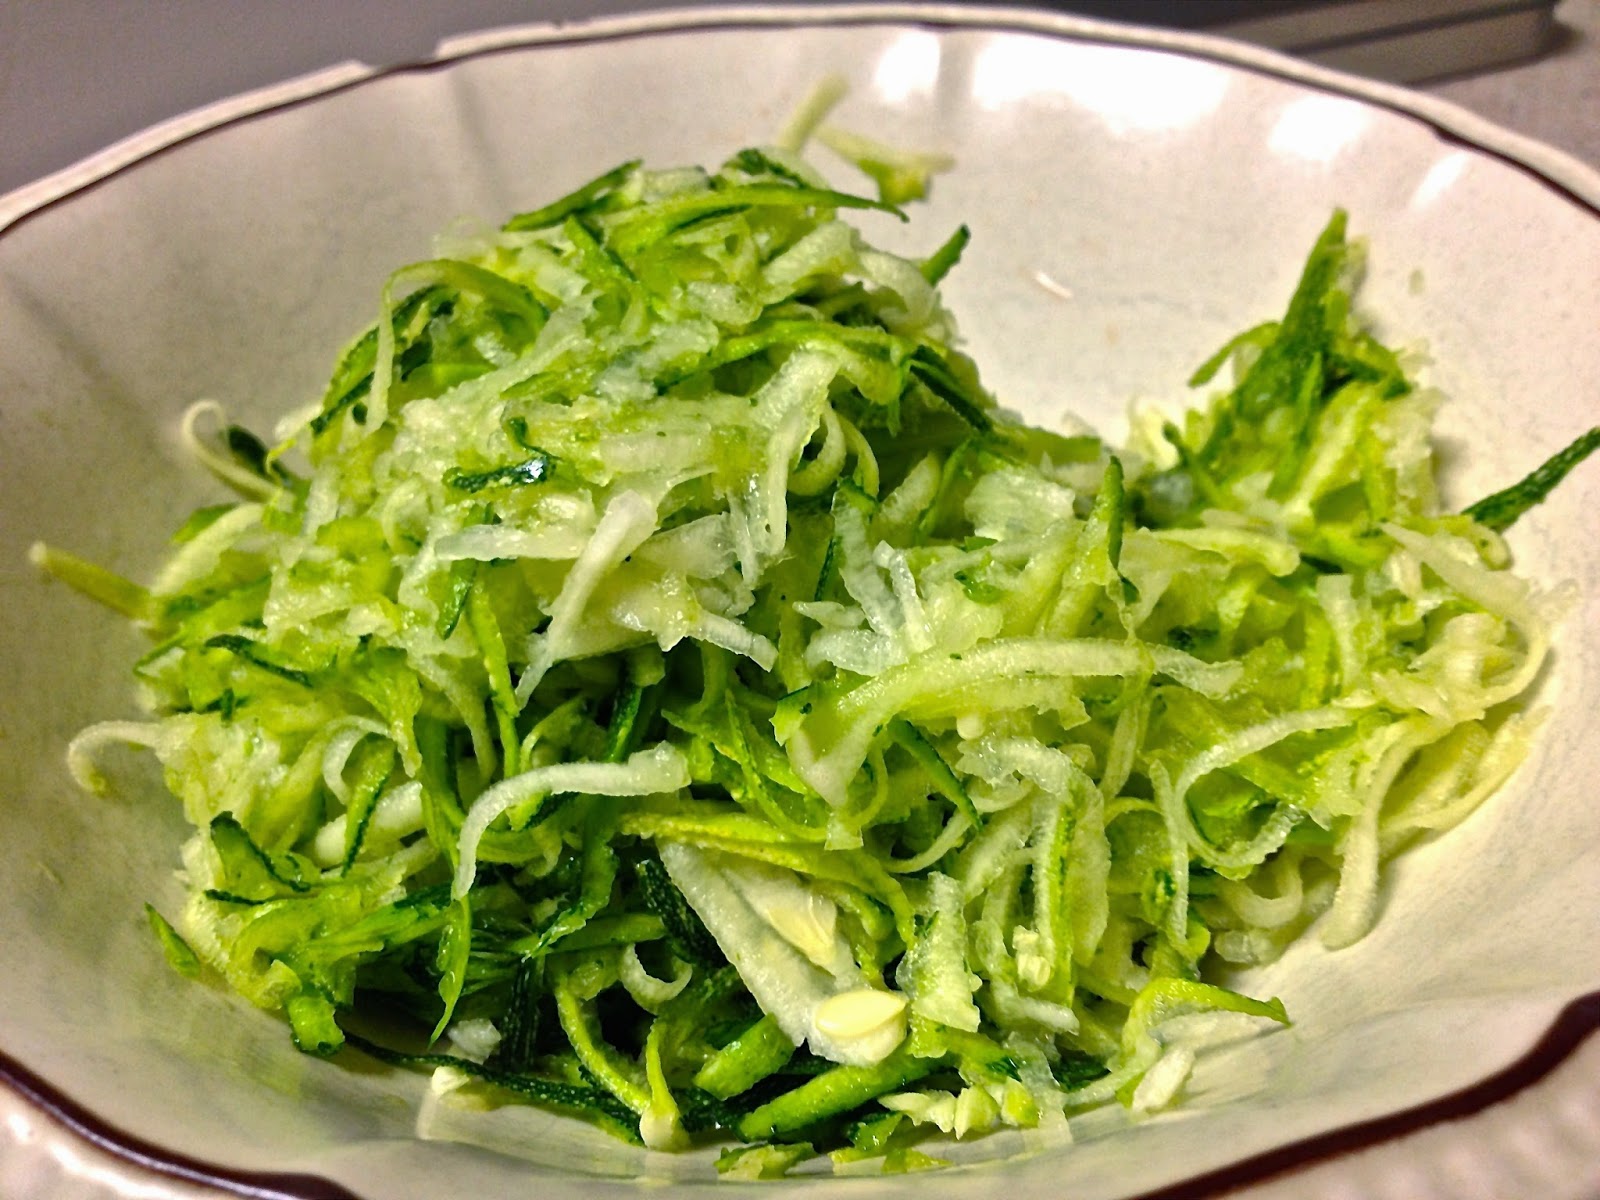
1. Lay a square cheese grater on its side with the larger holes facing up (see image above). Shred the zucchini into long strips. Stop when you hit the seeds and rotate the zucchini. (I had to cut my zucchini in half because it was too curved to grate straight.)


2. Cut the red pepper into smallish pieces. Cut tomatoes in half. Put with frozen peas and spinach.


3. Mince the garlic clove.


4. Heat olive oil over medium heat in a skillet. When hot, add garlic.


5. When you can smell the garlic (after 1 minute or so), add in the red pepper, peas, and spinach. Cook for several minutes until peppers begin to soften and peas are thawed, stirring occasionally.


6. Add in zucchini. Cook for several minutes until the zucchini is cooked through, stirring frequently and combining all the vegetables. Add salt and pepper to taste.


7. Serve and garnish with parmesan cheese. Enjoy!


Friday, September 12, 2014

Frittata fiesta!

Frittatas are the most wonderful things. Easy, yummy, quick to make, and people will be impressed when you say you whipped yourself up a frittata last night. Because impressing people with food is what life is all about, after all.

Basically, a frittata is a dressed-up omelette pancake with some sort of starchy binder. According to Wikipedia, the Italian word "frittata" translates to "egg-cake". Classy, no?

I use rice or couscous most often, and pasta (especially spaghetti) cut up into small pieces works really well too and bulgur wheat will do in a pinch.

The best part about a frittata, though? You can use literally anything in the fridge that hasn't gone bad to make it. Last night, I used left-over couscous and chicken, the last quarter of an onion, and the rest of my cherry tomatoes. Didn't cost me a thing and it was delicious. Perfect college gourmet meal.

I've been watching my father make frittatas for years, and here is his fool-proof, fail-proof recipe. It is nearly impossible to mess this recipe up, because even if your frittata burns a little (like mine did yesterday), it only tastes even better.

Ingredients: (makes about an 8-inch diameter frittata, enough for 1 for dinner or 2 for sharing/leftovers)

2 eggs
1 cup cooked couscous/rice/bulgur wheat
1/4 chopped yellow onion
Olive oil
Handful of cherry tomatoes, halved (optional)
1/4 cup chicken (optional)
Any other vegetables/meat/cheese your heart desires

1. Combine couscous, any other add-ins, and eggs in a medium bowl and mix well. Desired consistency: runny but not too runny, similar in runniness to pancake batter


2. Put enough oil to sauté onions (about 1 tablespoon) in pan and heat over medium heat. Once oil is hot, add onions and stir occasionally. Once onions have become translucent, add cherry tomatoes and let cook for just a couple of minutes.


3. Use a spatula to position onions and tomatoes into the middle of the pan in a circular shape the desired size for your frittata. Pour the egg mixture in on top of the sautéed vegetables.


4. Adding the egg mixture will cause the onions and tomatoes on the edge to push out towards the sides of the pan. Use the spatula to press them back up against the frittata.

5. Let cook for about 10 minutes, or until you can smell the frittata and it slides around easily when you lift and tilt the pan. If you lift an edge, the bottom should be brown.

6. If using a gas stove, turn off the gas. If using an electric stove, you can leave the heat on or turn it off. Lift the pan and slide the frittata gently onto a plate. (I had to use a cookie sheet, as my pan was wider than the plates I have at my apartment. You want to be sure that your plate is the same width or bigger than you pan!) The raw side of the frittata should be facing up.

7. Turn the pan upside down over the frittata. Use a hot pad to hold the bottom of the pan. Hold the plate and pan together. Flip upside down so that the raw side of the frittata ends up face-down on the pan. (Don't despair if you don't get it perfectly the first time! It takes a while to master!)


8. Remove plate/cookie sheet and return pan to stove. Turn heat back on if turned off.

9. Continue cooking the frittata until it has fully cooked (see #5 for how to tell).

10. Turn heat off and slide onto plate. Enjoy!


Saturday, September 6, 2014

5 kitchen items that apartment F does not need

I love my roommates. Really, I do. But I don't understand their need for useless kitchen utensils. I mean, I love the USS Enterprise pizza cutter as much as the next Trekkie, but it just takes up valuable space in our two-butt kitchen.

Other things we don't need in our apartment:

1. Garlic press

Sure, it's fun to use and watch garlic forced through little holes like Play-Dough. I think you would also find it's about as easy to clean as Play-Dough out of the carpet. It's also a bit redundant when there are several perfectly good knives you could use to mince the garlic.

2. Counter top rice cooker

Unless you eat copious amounts of rice on a very regular basis, this device is a space waster. Boiling water on a stove top and waiting for rice to steam doesn't take that much more time or effort. Easy rice recipe: 2 cups water, 1 cup rice. Boil water. Add rice. Cover and remove from heat. Let sit 30 minutes. Fluff with fork and eat. (4 servings)

3. Bread pans


I love baking. A lot. Like, more than your average nineteen-year-old. But with just four square feet of counter space, I'm not going to be doing a lot of intensive baking and, as my roommates all have more active social and work schedules, they're not either. And baking bread from scratch is the definition of intensive baking. Just go to the store.

4. 20 coffee mugs

4. We need 4 coffee mugs. One per person. Maybe a few extras to be able to serve friends. But 20 is overkill. Way overkill. Even for people who love tea as much as we all do.

5. Electric tea kettle

As with the rice cooker, this is another device that doesn't save much time and takes up counter space. Boiling water in a traditional kettle takes about eight minutes. The electric one takes five. And you can store a kettle on the stove, because there are few times when you'll need all four burners at once.


(Thanks to amazon.com and 1story1person.com for the pictures.)

Monday, September 1, 2014

Miracle Mirepoix

Mirepoix is my favorite word. To me, the word invokes every comfort of home cooking and family and love and good food.

For those who don't know, a mirepoix contains mostly equal parts onions, carrots, and celery, finely diced. It appears in many, many dishes, from osso buco (braised veal shanks) to soups. There are no more versatile vegetables than carrots, onions, and celery, and together they are unstoppable, invincible.

I have often daydreamed about going back in time to meet the first person to have used that delectable combination of vegetables in a dish. He (or she!) must have been a culinary genius. The first person credited with using this specific combination is the chef of Gaston Pierre
de Lévis, an aristocrat during Louis XV's reign in France. But the technique had no doubt been in existence long before.

Tonight I made my first from-scratch pasta sauce. As I chopped the vegetables for my sauce (the aforesaid mirepoix, zucchini, and heirloom baby tomatoes), I noticed how good everything smelled, even before I started sautéing. Truly, these are miraculous, marvelous plants.

As big a fan as I am of the mirepoix, I am as equally as big a fan of sautéing. It is one of the easiest and tastiest ways to cook vegetables. I browned my meat (a chicken, feta, and spinach sausage, out of the casing) first, which meant that I didn't use olive oil to sauté the vegetables and that they could cook in rich, yummy, meaty juices. After the onions had started to get translucent and the carrots and zucchini were softer, I added to the pan petite cut tomatoes in a light puree from a carton. I covered the pan and let it simmer on low heat while I cooked the pasta.

Mirepoix+zucchini+heirloom cherry tomatoes+sausage


My national pride goes completely out the window when I cook, especially for Italian foods. I only buy imported Italian olive oil (extra virgin, of course) and imported Italian pasta. The carton of tomatoes I bought were also from Italy. For good Italian food, you have to use good Italian ingredients. Though I am on a student budget, I see no problem in splurging for the good stuff, especially when it yields yummy results:

Simmering, scrumptious, savory sauce

Double, double, toil and trouble! Fire burn and pasta boil!

The final result: a large, hot, deliciously yummy bowl of pasta.

Now that I have successfully made my own pasta sauce, I don't know that I can ever go back to Ragu. It's official: I'm a pasta snob, and I have the marvelous mirepoix to thank.


Recipe: (I got about about 4 servings from this)

1/4 yellow onion
1 stalk celery
8-10 baby carrots (or probably about 1 regular-sized carrot)
A handful of cherry tomatoes, halved
1/2 zucchini
1 26 oz. carton of diced tomatoes in puree
1 sausage, casing removed

Fusilli pasta (The spirals hold the sauce nicely. Spaghetti would also work.)

Parmesan cheese

  1. Brown the sausage in a skillet over medium-high heat. Break up large chunks of the sausage into smaller pieces.
  2. Add onion, celery, and carrots. Cook, stirring occasionally, until onions start to turn translucent.
  3. Add in cherry tomatoes and zucchini. When carrots and zucchini start to get soft, turn heat to low and add in carton of diced tomatoes.
  4. Cover and let simmer while pasta cooks. Once pasta has cooked (usually 9-11 minutes for al dente) and drained, stir in enough of the sauce to lightly coat the pasta. This prevents the pasta from gumming up and sticking together, and makes the flavor of the sauce integrate into the entire dish.
  5. Serve pasta with sauce on top. Top with Parmesan to taste.